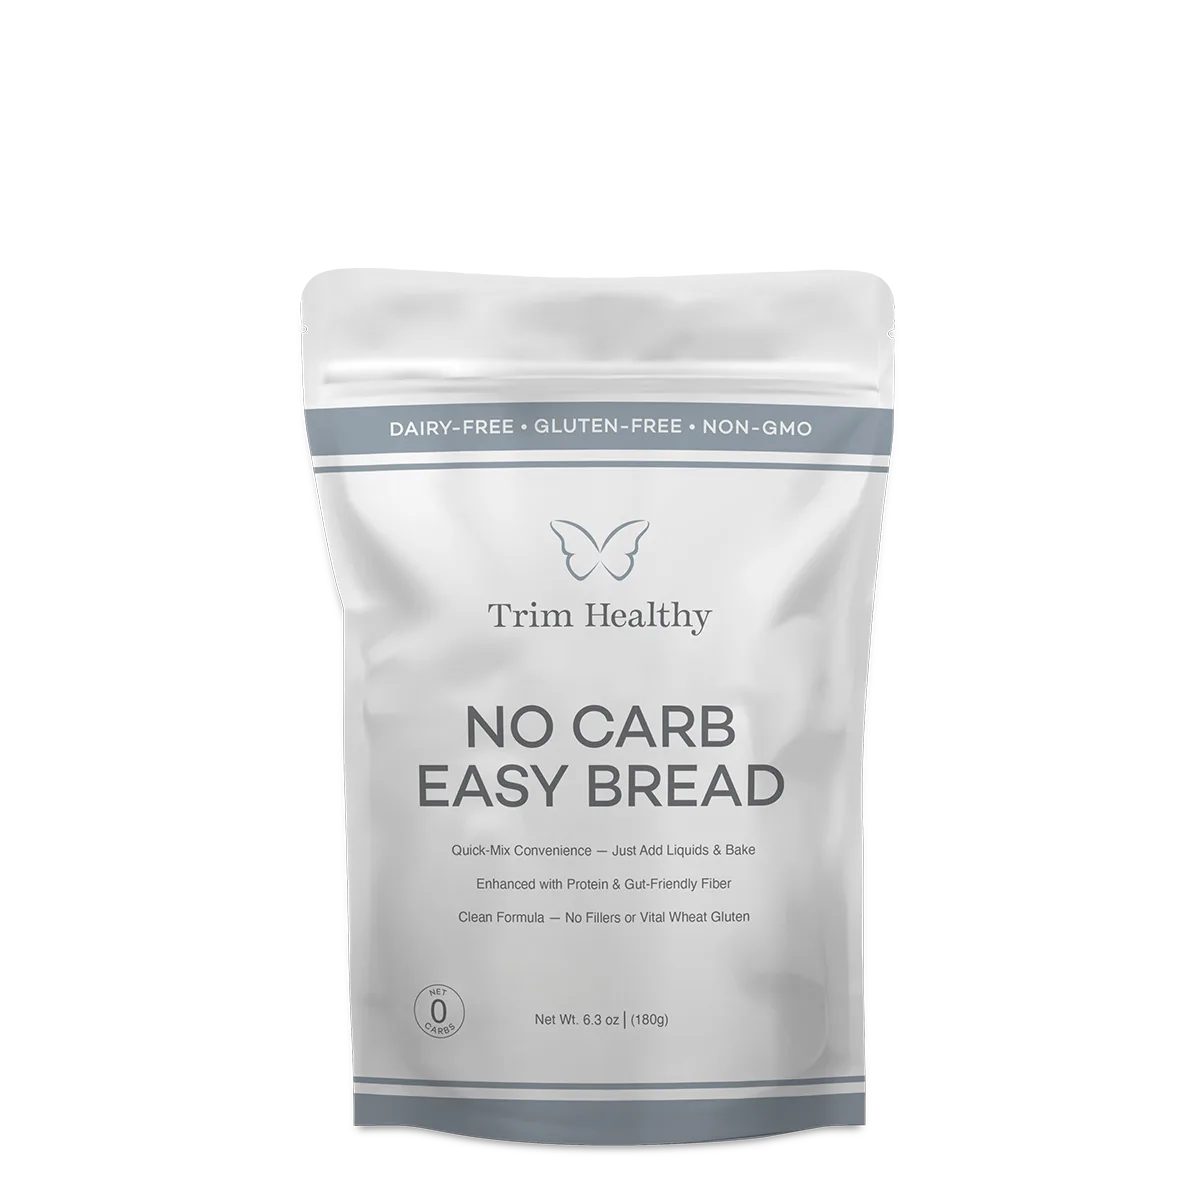

Healthy bread that’s fast and functional.
Trim Healthy No Carb Easy Bread isn’t here to win over sourdough snobs. It’s here to fuel your health goals in a hurry. This bread mix is your quick, go-to solution when life’s busy but you still want an on-plan sandwich.
With zero net carbs, a hit of protein, and gut-friendly fiber, it’s the ultimate blank canvas for fast, delicious meals. Just mix with liquids and bake: no rise time, no complicated steps, and no guilt.
Why You’ll Love It:
- Zero net carbs to keep you on plan
- Packed with protein and fiber to satisfy hunger
- Quick-mix convenience—no rise or knead required
- Clean, grain-free, and blood sugar-friendly
- A blank slate for sweet or savory creations
Suggested Uses:
- Grilled Cheese or Your Favorite Sandwich
- Savory Muffins, Rolls, or Mini Loaves
- Croutons or Breadsticks
Benefits:
- Dairy-Free
- Gluten-Free
- Non-GMO
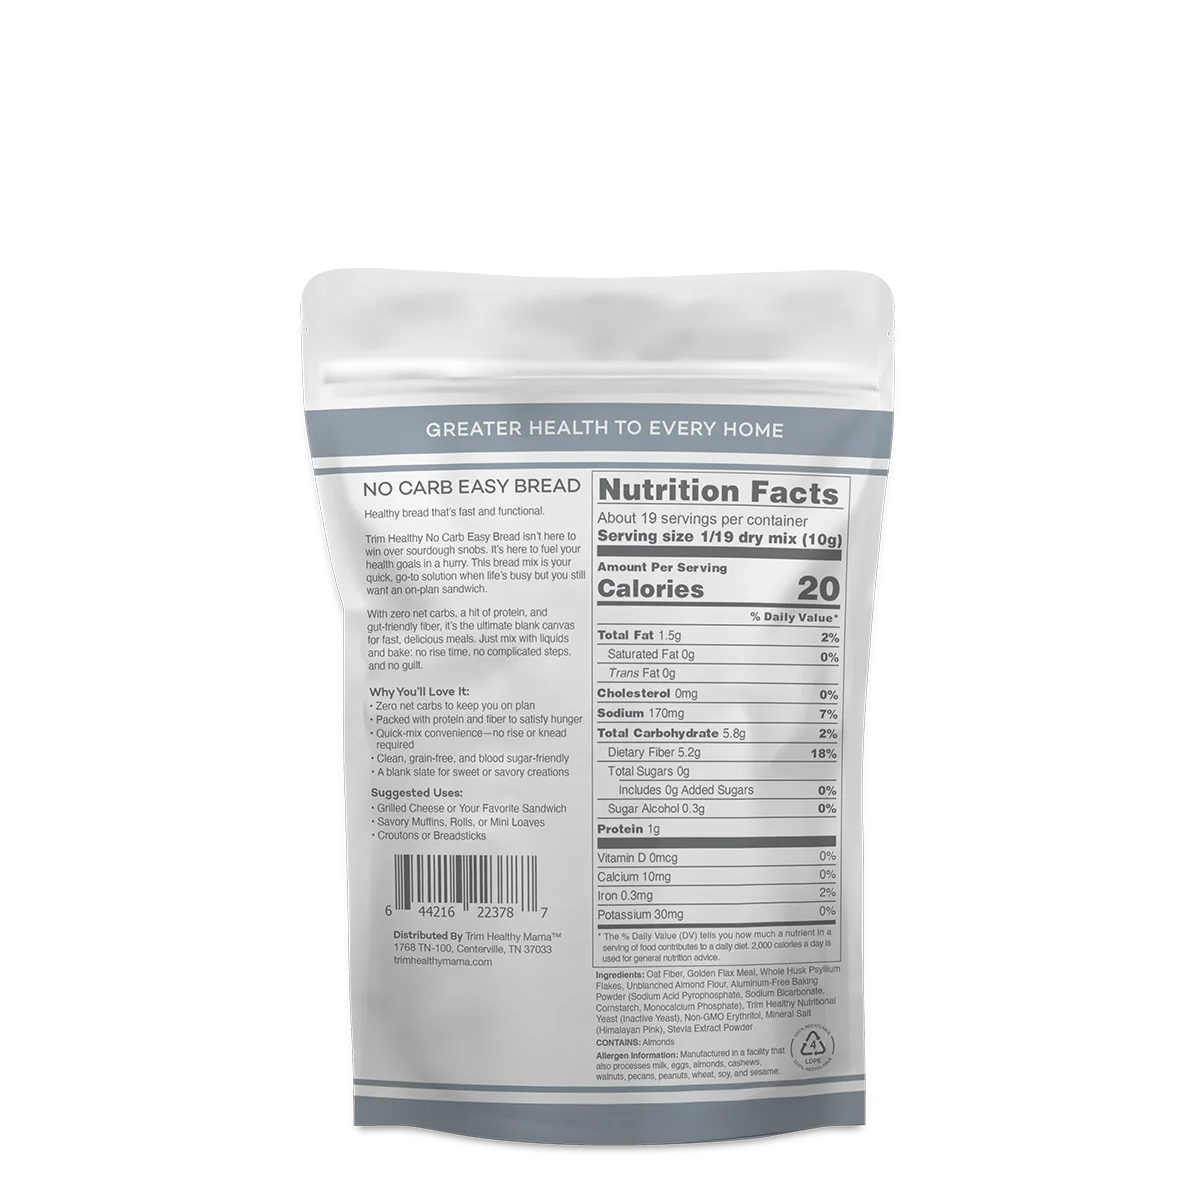
Ingredients: Oat Fiber, Golden Flax Meal, Whole Husk Psyllium Flakes, Unblanched Almond Flour, Aluminum-Free Baking Powder (Sodium Acid Pyrophosphate, Sodium Bicarbonate, Cornstarch, Monocalcium Phosphate), THM Nutritional Yeast (Inactive Yeast), Erythritol, Mineral Salt (Himalayan Pink), Stevia Extract Powder
Contains: Almonds, Coconut, and Sesame
ALLERGEN INFORMATION: Manufactured in a facility that also processes milk, eggs, wheat, almonds, cashews, walnuts, pecans, peanuts, and coconut.
CALIFORNIA WARNING: Risk of cancer and reproductive harm from exposure to lead. See www.P65Warnings.ca.gov/food
*Please note that from time to time packaging may vary. Refer back to this page for the most current Nutritional Facts. As is, this product is an FP per serving. Adding additional ingredients may change the fuel of your prepared treats.

NO CARB EASY BREAD
Download and print instructions here
You will need:
1 1/3 cups liquid egg whites (carton or fresh*)
3/4 cup water
One bag of No Carb Easy Bread
Directions: (order is important)
1. Preheat oven to 450°F (yes… 450).
2. Choose between two options for mixing – blender or hand whisk. Blender method gives a higher rise and works well for most ovens. If your oven causes it to rise so high that the bread is too airy to cut or forms air pockets, try hand method next time.
Blender – pour egg whites into blender and blend on high for 30 seconds. Add entire bag of dry bread mix and the water to blender. Blend for 10 seconds then turn off blender and scrape down sides of blender all the way to the bottom corners to make sure all ingredients get blended thoroughly. Blend for another 15 seconds or so.
Hand Whisk – pour egg whites into a large bowl and whisk vigorously with a hand whisk for 30 – 40 seconds or until very frothy. Add dry mix and water, then whisk until well-combined.
3. Spray a standard 9×5 bread pan with olive oil spray, then using fingers, spread oil well over sides and bottom of pan, making sure to cover all bottom corners so bread doesn’t stick. Now scrape every bit of the batter into pan using a spatula or spoon. Gently smooth top of bread with your spoon or spatula, then score a large, well-defined X on top of bread with a knife.
4. Place in oven and bake for 1 hour. (Ovens vary, your cook time may be anywhere from 50 minutes to a full hour and 10 minutes).
5. Remove from oven. Let bread sit in pan for a few minutes to cool slightly, then using a metal spatula, loosen edges of bread from pan and remove loaf. Put loaf on a cooling rack if possible (to allow air to circulate under and around the loaf). Allow loaf to cool and settle for at least half an hour before cutting.
6. Using a long, serrated bread knife (a good bread knife is important for grain-free breads) cut thin pieces to make about 19 slices for zero carbs each. If you prefer thick slices, no worries, they will still only be 1 gram of carbs each, so you’re still a winner. If you prefer less moisture in your slices, allow bread pieces to get some air for about 5 minutes by laying them out on paper towels.
To store: Keep bread slices wrapped in paper towels and leave on counter for the first 24 hours. After that, this bread is best refrigerated (keep wrapped in paper towels inside a plastic bag).
*Carton egg whites normally give a great rise, but if you desire even more of a spectacular rise, try fresh egg whites.
Laura’s NCEB Cinnamon Rolls (S)
Download and print instructions here
With the release of No Carb Easy Bread (NCEB)… a completely gluten-free, FP bread, more and more exciting recipes are being created. Here is Laura’s take on cinnamon rolls. Although they have an S label, we only gave it that because you may want to eat two instead of one! Either way, these will be a very Light S… only slightly past Fuel Pull.
Makes: 12 Cinnamon Rolls
INGREDIENTS FOR THE NCEB DOUGH:
– 1 & 1/3 cups egg whites; carton or fresh
– 3/4 cup water
– 1 package THM No Carb Easy Bread
– Cinnamon
– THM Sweetener of choice (for sprinkling)
– Coconut oil cooking spray
INGREDIENTS FOR THE NCEB CINNAMON ROLL GLAZE:
– 1/4 cup Gentle Sweet
– 1 Tablespoon butter
– 1 Tablespoon full-fat cream cheese
– 2 or 3 drops Natural Burst Caramel Extract
INSTRUCTIONS FOR THE NCEB DOUGH:
1. Preheat oven to 450°F (yes… 450°F).
2. Pour egg whites into a blender and blend on high for 30 seconds. Add entire bag of dry bread mix and the water to blender. Blend for 10 seconds then turn off blender and scrape down sides of blender all the way to the bottom corners to make sure all ingredients get blended thoroughly. Blend for another 15 seconds or so.
3. Line two cookie sheets with parchment paper.
4. After blending, scoop the NCEB dough onto one of the parchment-lined cookie sheets and spread it out into a 12×12 or 14×14 square. Use a rubber spatula or the back of a spoon to spread evenly.
5. Generously sprinkle cinnamon and sweetener over the spread out NCEB dough and then spray with coconut-oil cooking spray.
6. Lift one edge of the dough and begin to roll inward, keeping it as tight and even as you can. The dough will be sticky and you might need to use the parchment paper to help you guide the dough into an even “log”.
7. Once rolled, use a butter knife to cut into 12 even slices. You might need to use the butter knife to help scoop the slices onto the second parchment-lined cookie sheet. The slices will need to be separated out approximately 2 to 3 inches apart.
8. Bake for 13 to 15 minutes or until they reach your preferred doneness.
INSTRUCTIONS FOR THE NCEB CINNAMON ROLL GLAZE:
1. While the cinnamon rolls are baking, prepare the glaze in a small saucepan.
2. Add Gentle Sweet, cream cheese, and butter to the pan and stir until melted and combined well. Add two or 3 drops of caramel extract and stir.
3. Spoon the glaze onto the top of each of the cinnamon rolls.
Laura’s KitchenAid Mixer Tips for No Carb Easy Bread:
- Prep preheat oven to 450°
- Measure egg whites add to mixer bowl, measure water, cut open bag of mix, have loaf pan ready (I use parchment paper always), have a spoon, knife, or spatula handy.
- Turn on KitchenAid Mixer (with egg whites only) for approximately 1 minutes speed 4-6, with whisk attachment until frothy (not thick or very foamy).
- Turn off mixer add water & NCEB bag mix, turn mixer back on speed 2-4 for 30-60 seconds more.
- Scrape bowl sides and mix with spoon, knife, spatula then scrape into the loaf pan, score the top with a X, put into over make sure to set the timer for 50-60 minutes, 1 hour to 1 hour 10 minutes make the center of the bread just right, it might look done at 50 minutes however going the full hour has kept mine from “sinking” after taking it out of the oven.
***If the bread is getting big holes or sinking, try tapping the pan before scoring the top, blend egg whites less, try with some or all fresh egg whites, and cook an additional 10 minutes.